How to Prevent Warping and Poor Bed Adhesion in 3D Printing
How to Prevent Warping and Poor Bed Adhesion in 3D Printing
3D printing is all about precision and consistency. But if your print starts curling up from the corners or refuses to stick to the build plate, it can turn an exciting project into a frustrating one. Warping and poor bed adhesion are among the most common and annoying issues, especially when working with high-temperature filaments like ABS, Nylon, or Polycarbonate.
Luckily, these problems can be solved with proper setup, calibration, and environmental control. Let’s dive into the causes and practical solutions to keep your prints flat, smooth, and firmly adhered from start to finish.
Understanding Warping and Bed Adhesion
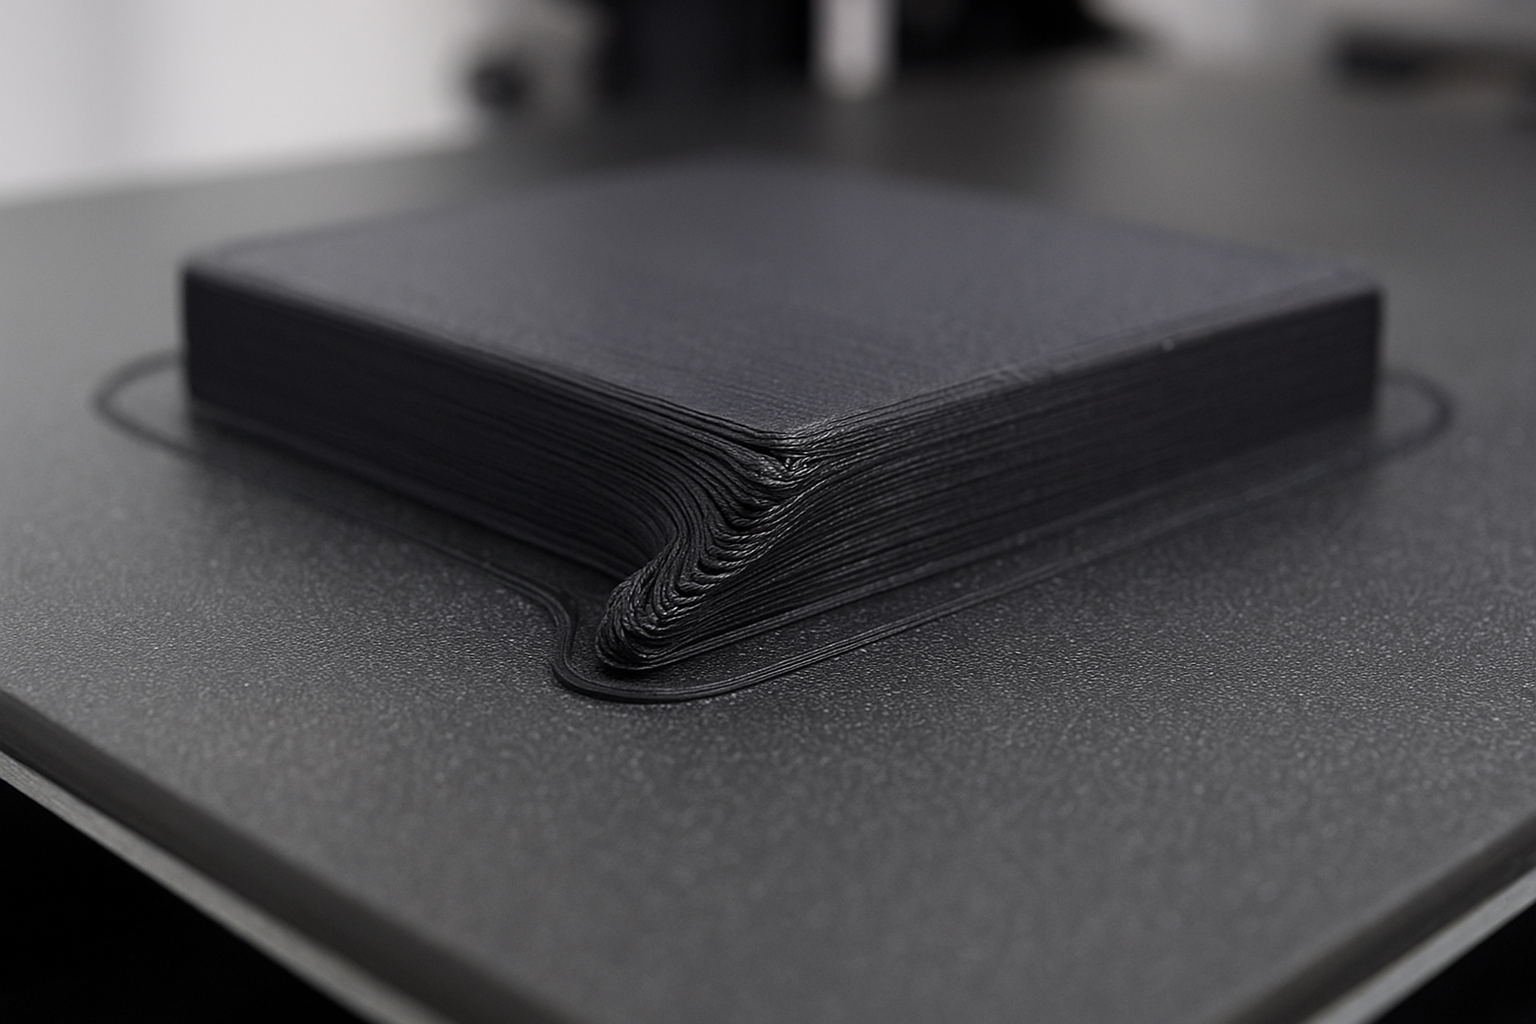
Warping occurs when printed layers cool and contract unevenly. As the molten filament solidifies, it shrinks slightly; and if the bottom layers cool too quickly, they pull up from the print bed. This results in corners lifting, cracks between layers, or even total print failure.
Poor bed adhesion, meanwhile, happens when the first layer doesn’t stick properly to the build surface. This can lead to parts shifting during printing, resulting in layer misalignment or incomplete prints.
The root cause of both problems often lies in temperature imbalances, improper bed setup, or unsuitable surface conditions. Understanding these fundamentals is key to troubleshooting and preventing them.
Level Your Print Bed Correctly
A level bed ensures that the nozzle maintains the correct distance from the surface at every point. If the bed isn’t flat or is unevenly adjusted, certain areas will either be too far (resulting in poor adhesion) or too close (causing filament jams and surface damage).
How to fix it:
- Manual leveling: Use a sheet of paper or feeler gauge between the nozzle and the bed. You should feel slight resistance as you move it.
- Automatic leveling: If your printer supports it, enable mesh bed leveling to automatically adjust for any surface inconsistencies.
- Regular checks: Temperature changes and vibrations can alter the bed’s level over time. Recalibrate before large or detailed prints.
A properly leveled bed ensures that every layer starts evenly, giving your print a solid foundation.

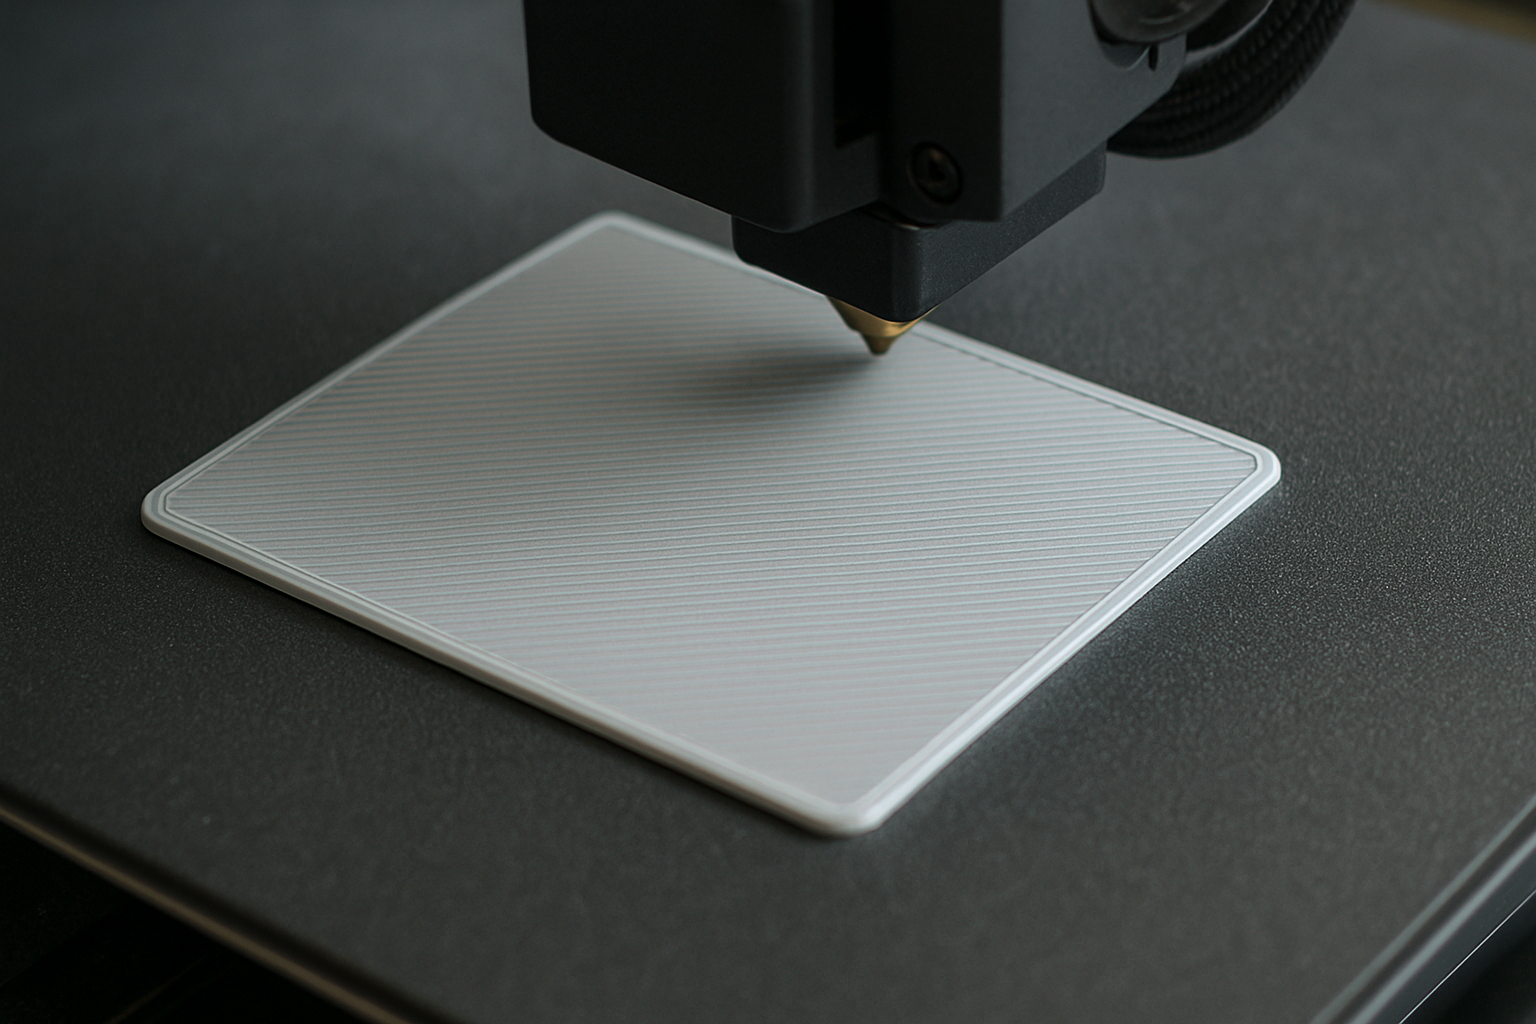
Optimize the First Layer
The first layer is the most important part of any 3D print. It determines how well the rest of the model will adhere and how stable it will remain during printing.
Key tips:
- Print slowly: Set your first layer print speed to around 20–30 mm/s. This gives the filament enough time to stick before the nozzle moves away.
- Increase extrusion: Add a small extrusion multiplier (around 105–110%) for the first layer to improve adhesion.
- Watch the squish: The first layer should appear slightly flattened against the bed — not round and not overly pressed.
A good rule of thumb: if your first layer looks glossy and smooth, it’s likely just right.
Adjust Bed Temperature
Temperature control is crucial for adhesion. A heated bed keeps the filament soft and tacky during the early layers, helping it bond to the build surface.
Ideal bed temperatures by filament:
- PLA: 50–60°C
- PETG: 70–80°C
- ABS: 90–110°C
- Nylon: 70–100°C
Why it matters:
When the print bed is too cold, the plastic cools too fast and contracts, causing the corners to lift. Too hot, and the filament may remain too soft, leading to smearing or poor dimensional accuracy.
A consistent and moderate bed temperature helps balance adhesion and dimensional precision.
Use the Right Build Surface
Not all print surfaces are created equal. The surface material greatly influences how well a filament sticks.
Common surfaces:
- Glass: Smooth and easy to clean; works well with adhesives like glue stick or hairspray.
- PEI Sheet: Excellent all-around option with strong adhesion for most filaments.
- Textured Build Plates: Help grip materials like PETG and ABS better than smooth surfaces.
Adhesive solutions:
Glue sticks, hairspray, or 3D printing adhesives (e.g., Magigoo, 3DLac).
Blue painter’s tape or Kapton tape for prints that need removable adhesion layers.
Proper surface choice and preparation can make the difference between a flawless first layer and a failed print.
NOTE : Also, don't forget to clean your print bed from time to time.
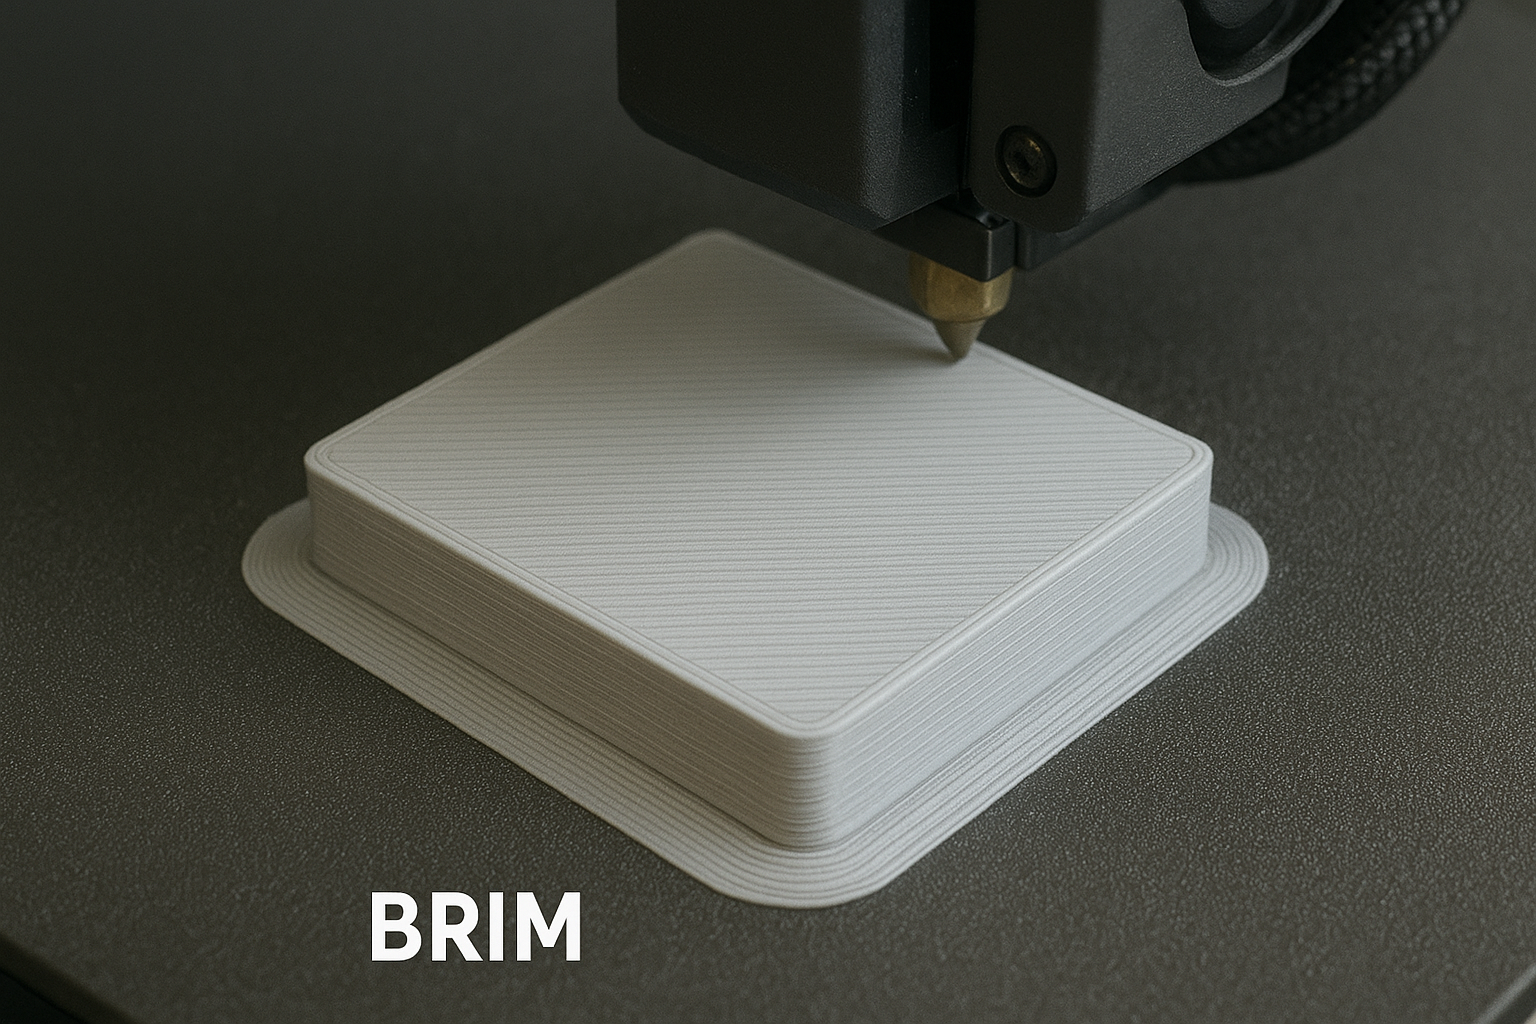
Add a Brim or Raft
For prints with small contact areas or prone to warping, adding a brim or raft can dramatically improve adhesion.
Brim:
Adds a flat “skirt” of extra lines around the base of your model. It increases surface area and holds corners down — easy to remove afterward.
Raft:
Builds a thick, flat foundation underneath your print. Ideal for warped materials like ABS or large parts. The raft helps isolate the print from bed irregularities.
Both options are slicer tools that can be adjusted based on model size and shape. Even a small brim can prevent a big print failure.
Maintain a Stable Printing Environment
Environmental changes — like drafts, cold air, or sudden temperature drops — are major contributors to warping. Uneven cooling can cause parts to contract unevenly, lifting corners or splitting layers.
Solutions:
Use an enclosure: Keeps temperature consistent and blocks drafts.
Avoid external airflow: Keep your printer away from windows, fans, or air conditioners.
Control ambient temperature: Printing in a warm, steady environment reduces the risk of warping significantly.
If you regularly print with ABS or Nylon, investing in an enclosure is one of the best long-term upgrades you can make.
Fine-Tune Cooling Settings
Cooling is beneficial for print quality but must be carefully managed during the early layers.
Best practices:
- Turn off the cooling fan for the first 3–5 layers.
- Gradually increase fan speed as the print builds height.
- For materials like ABS, minimize cooling altogether.
Too much early cooling causes the surface layers to contract prematurely — the main cause of curled edges.
Choose the Right Filament
Some filaments are naturally easier to print than others. Choosing the right material can greatly reduce adhesion problems.
Low-warp filaments: PLA, PETG, TPU
High-warp filaments: ABS, Nylon, Polycarbonate
Tip: If you need high-strength materials but struggle with warping, try modified versions like ABS+, ASA, or PETG-CF. These are engineered for better printability and lower shrinkage.
Click the link below to know more about our wide range of filaments:
https://spectrumfilaments.com/en/
Conclusion
Preventing warping and poor bed adhesion is all about controlling the early stages of your print — temperature, leveling, and surface preparation. Once you understand the factors that cause warping, you can adjust your setup to prevent it entirely.
In summary:
- Keep your bed level and temperature consistent.
- Optimize your first layer for slow, strong adhesion.
- Use the right surface and adhesive combination.
- Maintain a stable printing environment.
With these habits, you’ll get cleaner prints, save time and material, and enjoy a smoother 3D printing experience overall.